The first snowflakes of the year have fallen and, if you haven’t begun winterizing your sprinkler system, you need to. Split or ruptured pipes can cost you hundreds if not thousands of dollars to repair.
We have put together some easy, step-by-step instructions on how you can winterize your sprinkler system yourself. We recommend the same technique used in the northeast, the blow out method, for winterizing a sprinkler system.
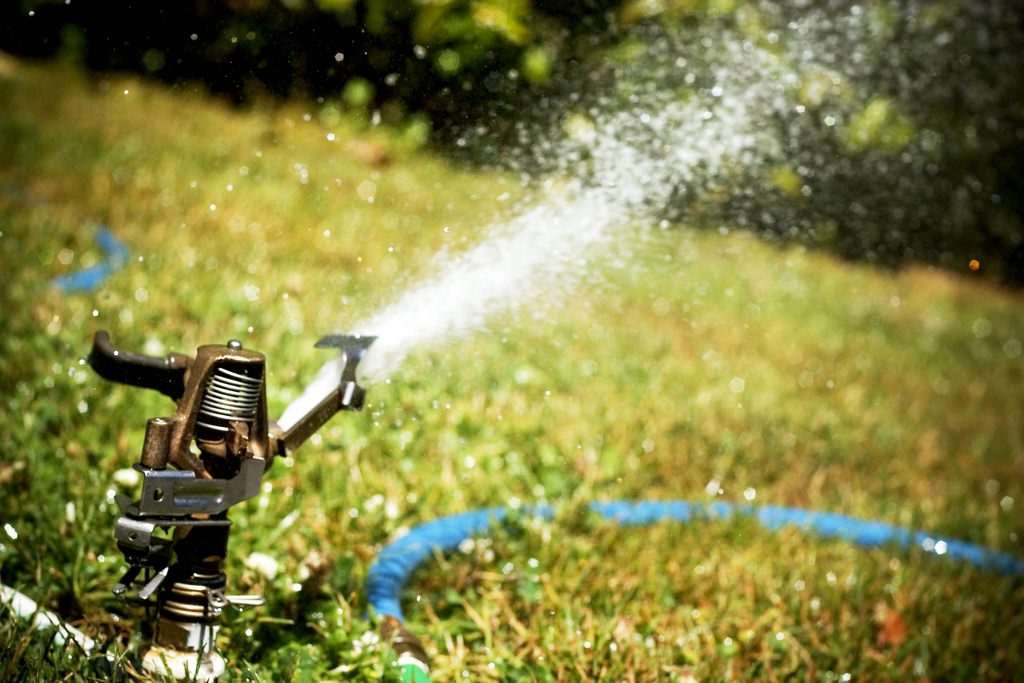
This method gets all the water out of the lines and is an easy and effective way to winterize. You can get all the parts for this do-it-yourself project at Louie’s ACE Home Center.
Use an air compressor with an 80 to 100 cubic foot per minute (CFM) rating. Make sure the sprinkler system you want to winterize has a mainline for water of 2-inches or less. You can purchase an air compressor, or rent one from our ACE hardware rentals. We have all the hook ups as well.
Locate the air hose connections. Make sure you use a connection located after the PVB back flow preventer. In the Fallon area, homes built in the last 15-20 years have a back-flow preventer on the sprinkler system. If you don’t have one, crack the pipe and the sprinkler valve and connect the air hose there to assist you in winterizing the sprinkler system.
You can make your own attachment (a jig) and connect it to your irrigation system. We can help you locate the parts and make it. Jigs are made with a washing machine hose, cut to 18 inches, a quick coupling, and a threaded to bared connector to combine the coupling and the hose. Screw it into the existing hose bib.

Trace the pipe back or locate the main water meter for your house. Make sure no new water can flow into the lines.
Most systems have a drain plug or sill cock drain. Open the valve and drain it into a bucket. Allow the pipe to drain completely. Go outside and close the back-flow isolation valves. Open and drain the test cocks on the PVB.
Keep the valves closed and attach the air compressor hose to the fitting. DO NOT run a compressor with an open valve. It can lead to a damaged zone valve gate.
Start with the zone which is highest in elevation and furthest from the compressor and turn it on. Blow out each zone for two minutes. Do this until no water can be seen coming out of the heads. Repeat the process until it is dry.
Disconnect the air compressor and release any air pressure from the lines. Open and drain all test cocks on the PVB to make sure no water is left inside.
You do this to ensure any trapped water is gone from the upper areas of your system. Turn and leave these valves at a 45-degree angle to complete winterizing your sprinkler system.
If you rented the compressor from our ACE hardware rentals, don’t forget to return it in a timely manner so someone else can use it to winterize their sprinkler system. Happy winterizing!