Welcome to Louie's Ace Home Center, where we're always looking ahead to bring you the best in home improvement. As we approach 2024, it's the perfect time to consider how the latest products can enhance the comfort, efficiency, and aesthetic of your home. In this guide, we'll introduce you to top home improvement trends and products set to make a big impact in the coming year.
The Latest in Home Improvement Technology: Every year, technology becomes more integrated into our homes, making daily tasks easier and more efficient. In 2024, look for advancements in smart home devices, energy-efficient appliances, and innovative materials that are not only user-friendly but also kinder to the environment. Imagine controlling your home's climate, security, and lighting with just your voice or a simple app!
User-Friendly Innovations: Products are becoming more intuitive and easier to use, with DIY solutions that save time and money. From installation to operation, manufacturers are focusing on user experience, ensuring that you can enjoy the benefits of technology regardless of your skill level.
Eco-Friendly Products: As we become more conscious of our environmental impact, the demand for sustainable home improvement products is rising. In 2024, expect to see a surge in items made from recycled materials, energy-efficient tools, and systems designed to reduce water waste. By choosing these products, you're not only upgrading your home but also contributing to a healthier planet.
The Benefits of Sustainability: Sustainable products often come with the added benefit of cost savings. For instance, energy-efficient appliances can significantly reduce your utility bills. Investing in quality, eco-friendly products means less frequent replacements and repairs, saving you money in the long run.
Cost-Effectiveness and Quality: In today's market, finding products that offer both quality and value is crucial. We've selected a range of items that provide long-term durability and performance without breaking the bank. Compare them with older versions, and you'll see how innovation has made them more affordable and effective.
Smart Investments: While initial costs might be higher for some of the latest products, consider their long-term savings and benefits. Improved energy efficiency, durability, and time-saving features often result in a lower cost of ownership over the product's lifetime.
Aesthetic Appeal: Home improvement isn't just about functionality; it's also about making your space more beautiful and comfortable. The 2024 product lineup includes options that blend seamlessly with any home style, from modern to traditional. Discover materials, finishes, and designs that will refresh your space and reflect your personal style.
Modern Home Designs: Whether you're renovating or just looking to update a few elements, the right products can transform your space. Look for options that enhance both the look and feel of your home, creating a place you're proud to show off.
As you consider these home improvement trends and products for 2024, remember that Louie's Ace Home Center is here to help. We invite you to visit our store or website to view the latest arrivals. Sign up for our newsletter to stay updated on new products and receive exclusive offers. And if you're ready to make a purchase, take advantage of our current promotions to get the best value on your home improvement journey.
At Louie's Ace Home Center, we understand the importance of making your house a home. With the right products and a little inspiration, you can create a space that's not only modern and efficient but also a true reflection of your personal style. So, take the first step today and discover how the top home improvement products for 2024 can transform your living space!
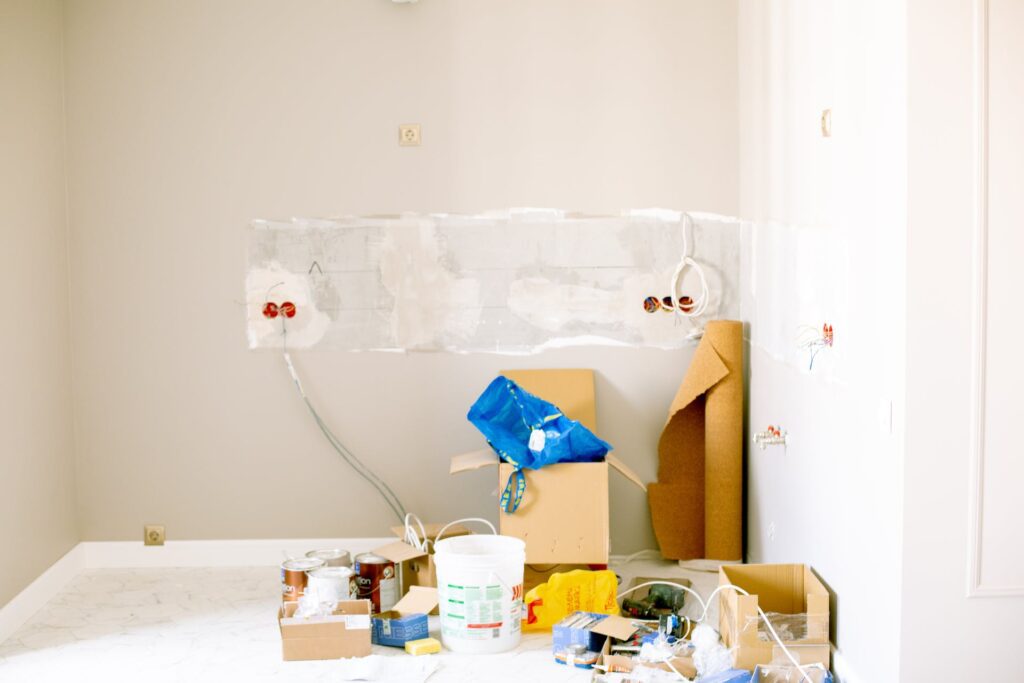
When it comes to taking on new DIY projects, timing is everything. It can make the difference between your project being a success or a total flop. For example, you wouldn’t want to start renovating your landscaping if there was snow on the ground because it would cause too many problems. Like this scenario, you could be faced with many issues by choosing to tackle a DIY project at the wrong time. So, take a look below to see when the best time of the year is to start your next DIY job.
The time in which you take on interior projects isn’t as dependent on weather inclemencies since your home shields you from the outdoors. However, weather can still affect interior projects in a variety of ways. For instance, tools or materials may cost less at a certain time of the year, and temperature often impacts the overall outcome of certain projects as well. So, take a look below at a few interior projects and suggestions for the best time to get them done.
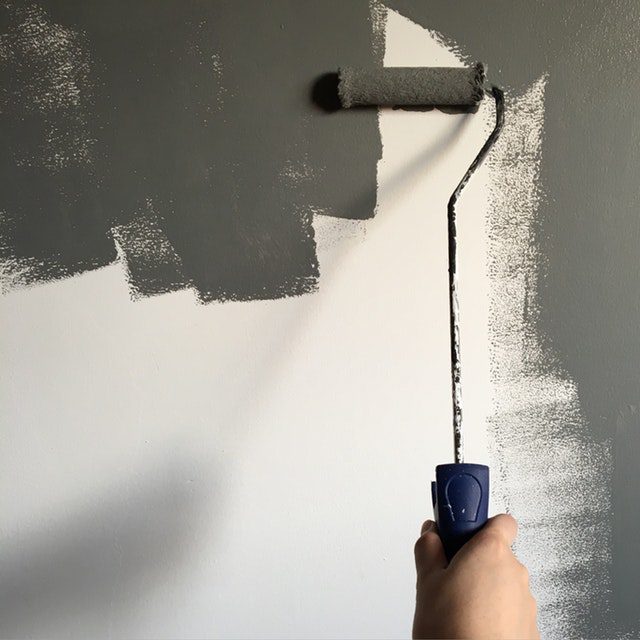 Interior Painting: Fall/Early Winter
Interior painting can really be done at any time, but the fall and early winter are the best times to refresh your home’s old indoor paint. Colder temperatures could help to cure your paint more quickly, but be weary of drastically low temperatures as they can affect the quality of the paint and prevent proper drying. Also, if you do decide you need some assistance, painting professionals are usually slower in the colder months and may even offer special deals during this time.
When it comes to installing new flooring in your home, the spring is the best time to have it done. That’s because hardwood floors don’t react well to hot and humid climates. These types of environments can cause the wood finish to cure too quickly which results in the sheen drying improperly. Instead, try installing floors when it’s a bit cooler out.
Kitchen updates such as painting, installing new cabinets, or redoing the countertops are best done in the summer months, but this may depend on your specific lifestyle. Because most people utilize their kitchens frequently during the holidays, winter isn’t a good time to start a major kitchen renovation. However, summer may be a good time to do this because you’re able to grill food outside and typically aren’t limited to only being indoors.
Exterior DIY projects need to be done during optimal weather conditions. If it’s snowing, raining, or freezing outside, your project will likely be ruined by the poor weather. In order to prevent an avoidable disaster, try to plan exterior projects around your climate. So, take a look below to see when is the best time to take on various exterior projects.
In order to have your deck finished in time to use it for the spring season, you should start building it by early winter. Fortunately, if you do need some assistance, contractors are less busy during this time of the year and you may be able to save money on materials such as wood. Because it’s generally pretty cold and wet during the winter months, most people don’t enjoy being outside too much, so you also won’t be disrupting any outdoor events you may have planned. And, believe it or not, the cold, cloudy weather you typically experience in early winter is perfect for helping pressure-treated wood dry and reduces the risk of warping or splitting.

You want to refresh your yard right before it gets too warm out. So, the best time to start a landscaping project where you plant shrubs, trees, plants, or grass, is in the spring. This will give your plants the best chance to grow and acclimate to their new environment.
Exterior paint is best applied in the summer months. The type of paint used for the exterior of homes perform better when there is less temperature changes between night and day. This will allow for proper drying to occur and results in a better appearance.
At Louie’s Home Center, our expert staff members can easily help you find the right tools and hardware needed to complete your project. Here, we’ll use our knowledge and experience to guide you in the right direction and get you through your project at each phase. Whether you’re looking for the best hammer or the best power tool, our team is here to help. Connect with us today or shop our products to learn more!
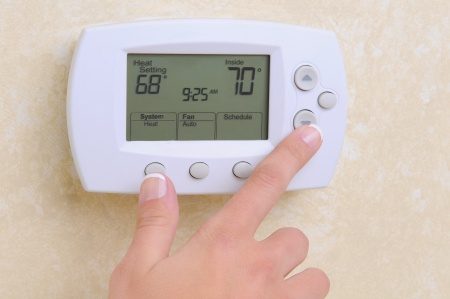
As the colder months are approaching, so are hefty energy bills if the proper preparations are not taken. Winterization is a key step in ensuring your home stays nice and cozy without spending a pretty penny.
We’ve compiled a handy checklist of easy ways to reduce your energy bill this winter, and ensure your home is winterized and ready to withstand dropping temperatures.
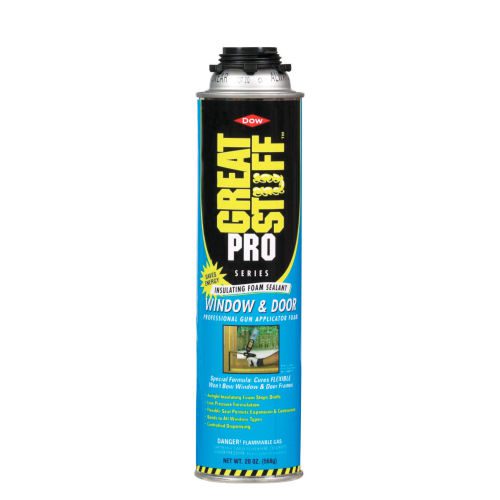
Your doors and windows are major culprits of letting cold air into your home if they aren’t properly sealed. Properly sealing these areas is extremely important, and the U.S. Department of Energy estimates that drafts in your home waste 5% to 30% of energy. Weatherstripping is great for drafty windows and can be easily applied and measured to fit any window. Draft guards can either be purchased or made yourself, and are adjustable depending on the width of your door, and its clearance from the ground.
Believe it or not, ceiling fans are designed to go in two different rotations, one is for hotter weather, the other for the cold. Make sure your ceiling fan is going clockwise during the winter months. This ensures warmer air is being pushed downward towards the center of the room and the walls, pushing cold air upwards.
 Caulk
CaulkMuch like draft guards and weatherstripping, caulk helps you close up cracks that are letting a draft into your home. Use caulk to fill cracks or holes in non-movable components in your home like cracks in siding, or along windows that cannot be opened. Cracks can be often overlooked as a cause of drafts and cold temperatures within the home. However, when they are filled, can make a noticeable difference. Don't skip out on this winterization tip.
Replacing the filters in your home will help to make your central air and heating system work a little less. When filters are clogged, it requires a lot more energy to push out your desired heat levels. Another added benefit; you’ll be breathing much healthier air with a brand new filter as well.
 Window Insulation
Believe it or not, the glass on your windows themselves can be letting cold air through. If you’re looking to save extra money on energy costs, or you’ve taken other winterization measures and they’re still not helping, it may be worth it to consider window insulation. There are many kits containing film that you can easily place over the glass surface of your windows that are designed to help insulate. If you’re not concerned with the appearance, bubble wrap also works well and provides extra insulation these film kits do not provide.
A crucial step in ensuring your pipes don't freeze, and subsequently burst, outdoor faucet covers are one of the most important winterization steps. It’s first important that you drain these faucets and detach any hoses or other attachments. Afterward, attach a faucet cover and you’re set for the rest of the winter!